
Blog
Join me to reflect on art and life.
Creative struggles…

I wish I could say that I wake up with a brain full of ideas and endless energy to get them done. No surprise that this isn't so, ever. I struggle sometimes with the thought of "this should be easier", "if I was really good, it wouldn't be this hard", "how does an artist also be a mom. it's impossible". I have to work hard to make time for my art. Sometimes I have time, but don't feel creative. When that happens I sometimes force myself to work on something that's already on my desk. Sometimes I find myself sitting at my desk, staring out the window. Sometimes I don't even make it to my studio and end up doing dishes instead.
This isn't a new topic for my blog. I have been here before and I expect I will visit again. One thing I have started to think about is what my expectations are. If I expect to wake up inspired and have endless time to explore a creative idea, I will be severely disappointed. I need to have a reasonable expectation of my days. Not rocket science I know, but a different mindset for me.
How do you struggle with creativity?
How I organize my stencils
Hi, my name is Mary and I have a stencil addiction.
No, I don't want help with it.
I have been through at least 4 ways to store my stencils. I have scoured Pinterest looking for ideas that would work for me. I love to look at how some people keep there stencils in the original packaging and they are hanging pristinely in their studio. That is not what I was looking for. I am not neat. I don't clean my stencils. And the chances of them making back into a plastic sleeve are zero.
My first organizer was just a 12x12 scrapbook plastic storage box. That lasted for quite awhile. One day though I outgrew that box. My choices were to buy another box or find a new way. The box had been great, but I was tired of digging through looking for the stencil I wanted.
Organizer #2 was a set of large binder rings. I hole punched each stencil and hung it on a binder ring. I had 4 binder rings and I could hook them on the side of my art cart, so they were handy. The binder rings started getting loose after a year or so. I decided to buy just one big ring and I bought the Reset Girl's Again small washi tape ring (organizer #2.1). This worked for awhile, but first the ring was heavy since I didn't stop buying stencils. Also when I would take the stencils to my classes, it was time consuming to put all the stencils back on the rings.
So now we arrive at my new find. I had a desk organizer similar to this one from IKEA for a few years.

I had been using it to store my Project Life cards. I don't know what happened, but one day I walked by and I wondered if my 12x12 stencils would fit in the back pocket. They did! And my 6-8 inch ones fit in the next pocket. Another one fit 6x6's. It was a miracle!!! The only adjustment I had to made was cutting out one divider in the front section so the 6x6's fit perfectly.


Oh gesso, how I love you.
There are two camps when it comes to gesso. The always-gesso camp and the never-gesso camp. I am a lifetime member of the always-gesso camp. I have very few art journal pages that don't start with gesso.
( A quick course on gesso, if you don’t know what it is. Gesso is basically a primer. It usually has a chalky finish that gives your substrate some “tooth” to hold paint.)
So here is why I love gesso so much.
1. It saves you money on paint. If you gesso a page or canvas, it seals the surface so the paint you add sits on top. Without gesso, your paint will sink into the fibers of your paper or canvas.
2. It allows for corrections. If a page or canvas is gesso'd, you can erase wet paint with a baby wipe. Again without gesso, that paint has sunk into the fibers and may stain when you try to remove it.
3. It can add texture. I love adding texture to my art journal pages, but since I am working in a book I don't want thick texture. Even a fluid gesso can add texture. My favorite technique is to add gesso to two facing pages, smoosh ( yes, that is the technical term) them together and then separate and let dry.
4. It makes art journal pages stiffer and thicker. I prefer an art journal with thicker paper (like the Dylusions art journals), but I have some journals with thinner paper. Gesso adds a little support to these pages.
5. Seals the "crack" in your journals. The center of your journal is a prime area where media can leak onto other pages. I prefer to add a strip of masking tape to the "crack" and then gesso over it. This protects my pages from leakage.
6. Preps non-paintable surfaces. If you are trying to paint over vinyl, chipboard or wood, gesso will make these surfaces easier to paint. The main purpose of gesso is as a primer, so it it perfect for making the hard-to-paint easier.
7. Use with your paint. Gesso has a chalky finish, so when mixed with acrylic paint it changes the texture and finish. While you are painting you can use gesso to knock-back areas that are too loud, use it to add marks, or use as a layer. I use gesso just like I would use white paint.

This is my favorite all-around gesso
But some close contenders are:
Dina Wakley Media white gesso
GOLDEN heavy body gesso
GOLDEN black gesso
Dina Wakley Media clear gesso
You picked your ONE WORD, now what?
If you picked a word for your year, CONGRATULATIONS. I am a firm believer in picking a word to help guide your year. I know I spend alot of time thinking about which word to pick, what it means to all areas of my life, how I want that word to manifest. By the time I pick a word, you would think the hard work is over.
The hard work is keeping your One Word in your life. Much like New Years Resolutions, your word can go to the back of your mind within a few weeks. How can you keep your focus on it during the year? I have a few tips for you based on my experiences.

Keep your One Word in your life…
Keep your word in front of you….literally. Consider a bracelet with your word, post-its around your home, a wooden sign for your work area.
Set specific goals related to your word. If your word is “focus” think about what areas of your life you want to focus on and then set some goals.
Set a reminder for a weekly, monthly or quarterly review of your word and your progress.
Tell a friend about your word or join a One Word group. Sometimes having accountability is the right motivation to pay attention to your word.
Weekend Wrap-up


I hope you all have some good weekend plans. It’s funny how our definition of a good weekend has changed over the past year. I was always a bit of a homebody, but I am now an uber-homebody. With all of this time at home, I struggle to stay away from work (especially when work involves paint, paper and glue). Having plans for the weekend help me have a little more balance.
This weekend I am planning on doing some baking for Valentine’s Day. I have a few boxes of goodies I want to send to some friends and family. I found this recipe for Valentine’s fudge, so I am definitely making this. My dad loves poundcake, so I have been searching for a recipe I can bake in a loaf pan, so it will be easier to mail to him. My usual recipe has to be cooked in a bundt pan, so I am considering this recipe or this one.
This week I started listening to “Soulful Simplicity” by Courtney Carver. She talks about simplifying her life after an MS diagnosis. I am excited to keep listening to this. (Plus the Kindle version is on sale right now)
On Sunday, I am joining the Bookmaker Collective introduction on Zoom. Some of my favorite bookmakers will be teaching workshops throughout the year. I can’t wait to hear what they have planned.
I had hoped to get some time in my garden, but now it looks like we will have a rainy weekend. I am hoping to squeeze in a bit tomorrow morning before the rain starts. Maybe I should take my Saturday morning yoga outside? Multi-tasking self-care is okay, right?
Happy Arting!
I have a new journal!
You’re probably thinking “do you really need another one?”. The answer is yes, I do need it.
I have told many of you already that I enjoy working in a variety of journals. I do this because I may have a particular idea in my head and I need a specific type of paper. Or I may want to work small (or large). I may want some text in my background and a book journal cuts out a step. Maybe I am working with wet media and I need a journal that lies flat. Plus there are my “go to” journals that I always enjoy working in.
So now I have added another journal to this mix. I’m not sure what other people call it, but I call mine a flip journal. It is a stack of miscellaneous papers, about 4”x6”, and is sewn together along the top edge. This way I can flip through and look for a page that inspires me.

If you want your own Flip Journal, I have several available in my shop.
I just recently started working in this journal and I wanted to share my first page with you. Since this is a small journal, it allows me to work quickly. In this video, I used my box of collage bits and a stamp and stencil I had at hand. I find that working quickly like this frees me up and allows me to try things without overthinking them.
My 2021 100 day project
A few weeks ago I talked about creative challenges. If you read that article you know that my most successful challenge was last year during the 100 day project. This challenge usually starts in April, but the group decided to move it to January this year. (Want to learn more about #the100dayproject ?)
I have spent a few days thinking about what I wanted to do this year as my challenge. Last year was all about collage because I wanted to challenge myself to use collage as the main focus of my art. The small journal I started last year has moved into a second journal and now a third, so this was a successful project.
I started thinking about what I could challenge myself with this year that was still manageable. I found the size of my project before I found the project itself. I bought this drawer from an online vintage sale by Tremblay’s Paper Shop.

The drawer was so perfect to hold my 100 day project, I just knew I had to use it. So I quickly measured and determined that I could cut watercolor paper to 2”x3.5”. I also grabbed some of the scrap paper around my desk and cut it down, so I could have a variety of surfaces to work on.
So, now I had my project supplies, but what was my project? Obviously nothing too big.
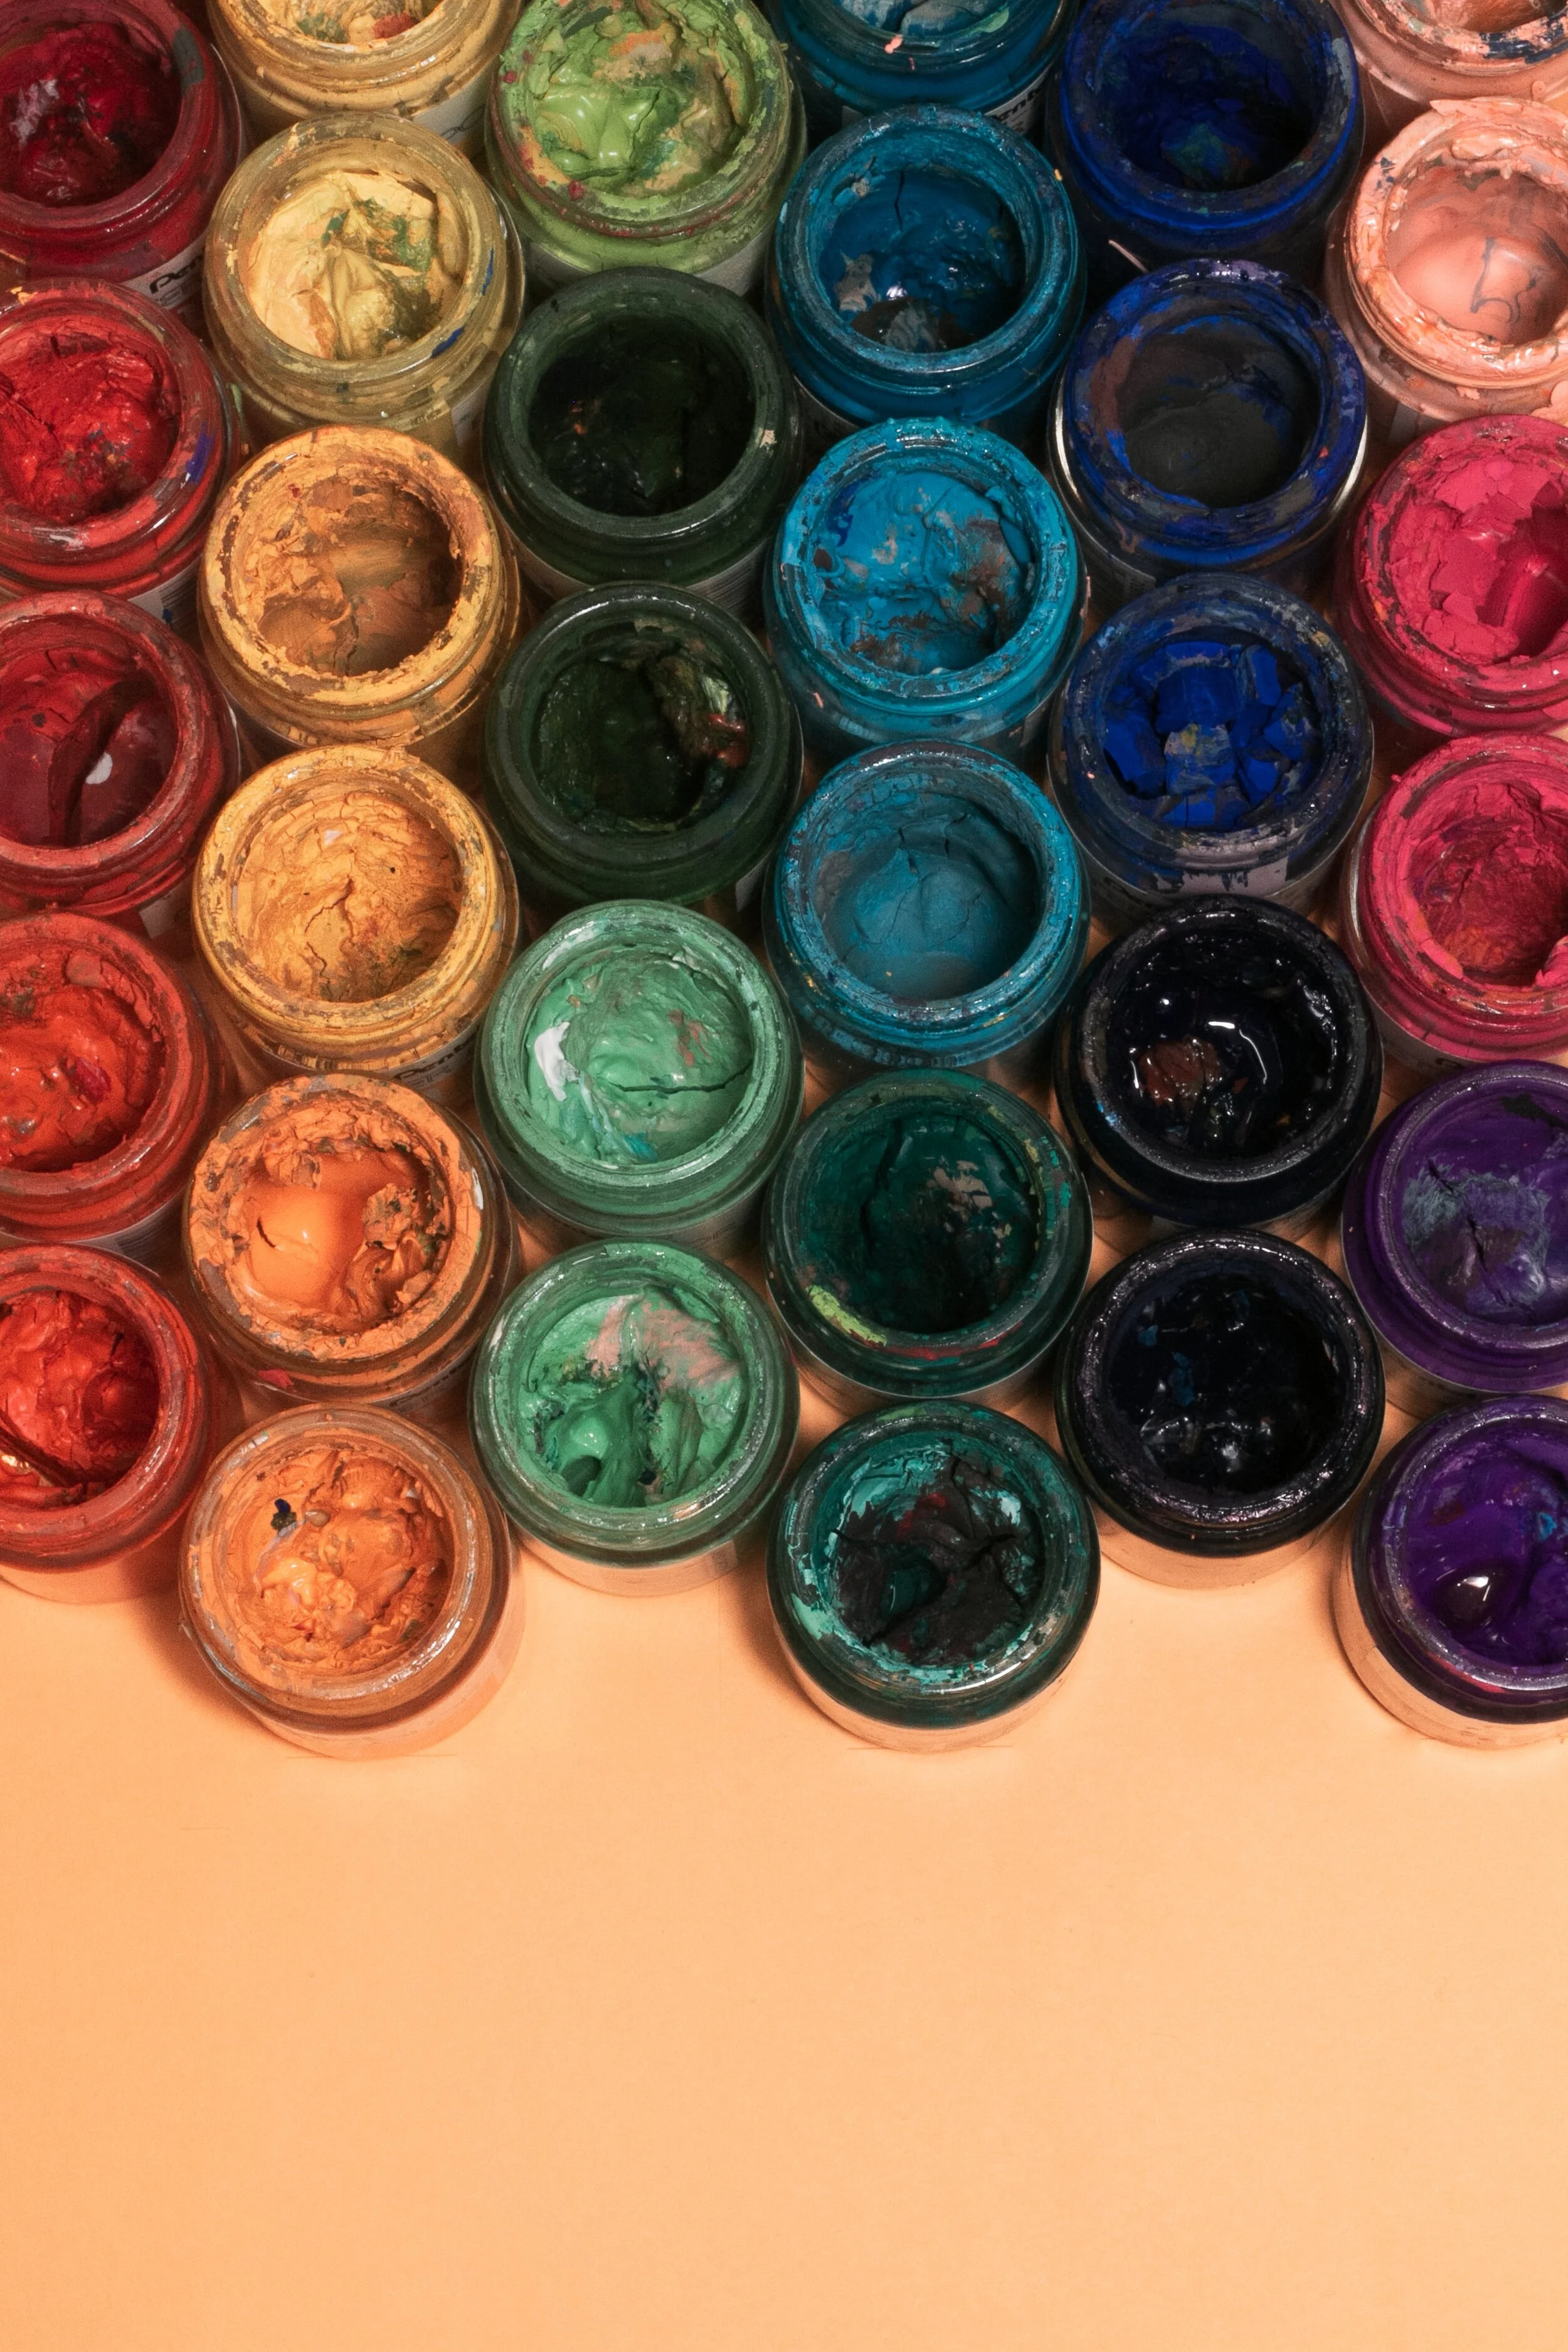
One thing I have been exploring the past few months is color. I have been reading about the origins of colors and looking at how colors play together. This seemed like a perfect challenge for me.
I have decided to complete 100 days of color palettes. I want to build a set of cards I can refer to when I am stumped picking a palette. I also want to push myself outside of my comfortable teal box.
I knew that I needed to sets some parameters for my project because that had led to my success last year. My size was already limited, but I decided to limit my color choices. First I made a list of weekly color focuses (I included my list below). My palettes will only include 3 colors, one of which must be from my weekly color list.
Are you challenging yourself this year?
Weekly Color Focus:
week 1 - green
week 2 - pink
week 3 - yellow
week 4 - orange
week 5 - brown
week 6 - purple
week 7 - red
week 8 - blue
week 9 - gold
week 10 - gray
week 11 - violet
week 12 - teal
week 13 - silver
week 14 - periwinkle
week 15 - favorites
I’m a not quite early bird…
I have never been a morning person. When I worked a “regular” job, I was forced to be a morning person, but since then I have gone back to my natural rhythm. When I wake up, I am not ready to go. I need some time to get going before I can have a conversation. Until recently my morning routine included making coffee, flipping through my phone and shuffling around the kitchen. Not exactly the most productive start to my day.

I recently had a conversation with a friend, the Confetti Coach, about her morning routine. She inspired me to re-think how I started my mornings. So I sat down and thought of things I wanted to do and how I wanted to feel in the morning. I recently learned the word “hygge”, pronounced hoo-ga. It is a Danish word for a sense of wellbeing, absence of frustration and savoring the present moment. This is what I wanted to feel.
Hygge
I knew I needed a relaxing routine. As much as I love to exercise, I am NOT a morning exerciser. I needed something slower….that included coffee. Here is the list I ended up with:
Coffee and then some more coffee
Get a little sunshine
Read a chapter in whichever art or business book I am reading
Stroll around my yard and garden
Journal my morning pages
Listen to a podcast or audiobook
Update my planner with my top 3 tasks
Catch any ideas or to-do’s in my Catch-all book (just a Moleskine where I keep lists)
Since I wanted this to be a relaxing routine, I allow myself to modify or reduce this list depending on what else I have going on that day. I also aim for doing this four mornings a week. I usually do more, but I didn’t want this to feel like a chore to check off a list. The purpose of the routine is to relax and enjoy my morning time.
I also make the time special. When weather allows, I do my morning routine outside on my patio. Right now I use my patio table, but I have plans to convert my son’s unused treehouse into a morning retreat. I see a comfy chair, little table and a few decorations.

So, has a new morning routine changed anything for me?
It has. I feel relaxed but also like I have accomplished something right away in the morning. It is a slow, but focused start to my day. I also feel like has a relaxed mind has allowed for more creative space in my head during the day.
Do you have a morning routine?
What do you do?